🏴☠️ a week of fails + some garden photos 🕵🏻
helpful rules to follow when diagnosing plant problems
Welcome to all the new subscribers!! If you are new here, today’s email is much more technical + science-y than usual, so don’t be alarmed. It’s also kind of a bummer, so feel free to pick a topic from the archives for your weekend reading instead!
Hello Floricult friends —
It’s been a long week of fails. There are two ways to learn things: Because you want to, or because you have to. This was a week of Have To Learning.
Diagnosing plant problems is very similar to diagnosing your own health problems. There are usually multiple causes, all of which are compounded by stress. And before you start the “experimenting to figure out which cause,” you try to eliminate the stress first to see if you or the plant can heal on its own. (And, preventative care really matters for plants. Having the right pH, access to nutrients, and eliminating stressors like over/under watering goes a long way in giving the plant a “healthy” immune system and keeping it pest and disease resistant.)
Very few fixes are fast — you can implement a change or solution quickly but it will take the plant (and you) awhile to catch up and repair. For a few days or even weeks, you’re worried about the accuracy of your diagnosis and the effectiveness of your treatment.
I am at various stages of trying to diagnose all of this week’s problems and I hope my sharing will help you in your knowledge-journey but also your emotional journey, navigating the ups and downs! 😅
Googling around to identify the problem and find solutions can be really frustrating - and most of the top Google search solutions are rudimentary at best, and sometimes just wrong or can cause more problems.
Here are a few good things to keep in mind:
Add “site:edu” to the end of your search to pull up results only from academic websites. This will keep sloppy web articles out of the way, and give you research-backed information.
When researching “what causes X,” include the name of your plant. Deficiencies, diseases, and toxicities look different on different plants, so it’s important to look at the causes for mottling on tomatoes vs strawberries, for example.
If you have a pest problem, make sure you aren’t getting rid of the “good bugs.” Spend a weekend researching common garden bugs in your region, and learn which ones are predatory bugs (good) and which ones are pests/prey (bad). The good bugs that are eating your aphids, cabbage worms, etc are usually bigger - which means they’re the ones we see easily, so don’t destroy them without checking. Wasps, lady bugs, lacewing larvae, beetles, flies are all insects you want to keep in your garden because they are feeding on the small ones that feed on your plants.
Deficiencies aren’t always caused by a lack of that nutrient in the soil. Sometimes the pH is too high/low for the plant to absorb it, resulting in “a deficiency.” Having too much of a different nutrient — or chronic overwatering could also cause a deficiency. This is important, because adding more iron to cure an iron deficiency could do nothing! If your plant is suffering from a deficiency, research what causes it first.
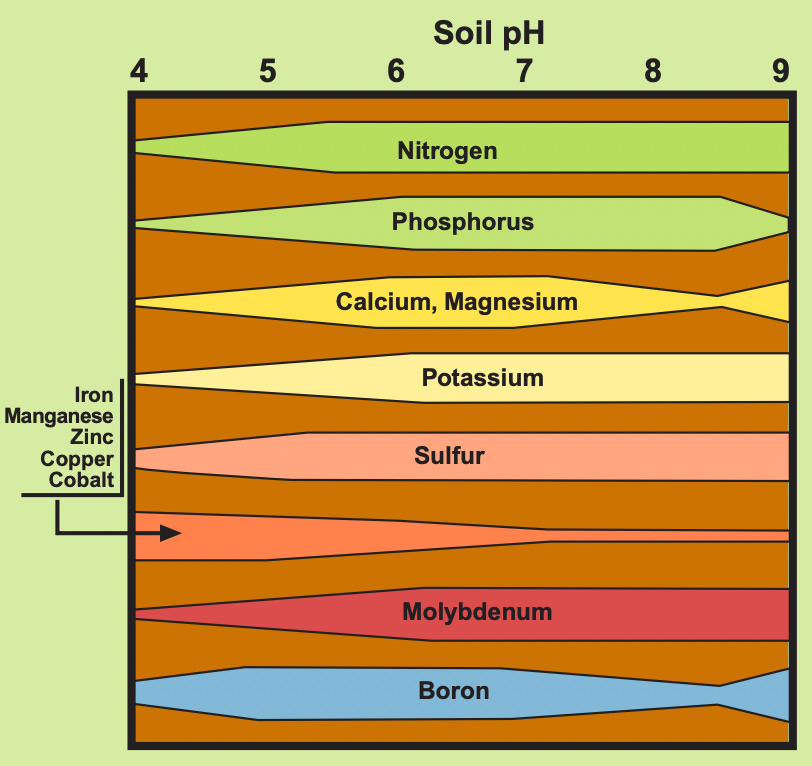
Toxicity is when a plant is absorbing too much of a nutrient. Just like a deficiency, research what causes toxicity. The pH of your soil is often the cause of deficiencies or toxicities. Here is a cool chart that shows how nutrients become available/unavailable at certain pH levels. Nitrogen, Calcium and Magnesium are accessible once the soil is around 5.5, and Phosphorus and Potassium around 6-6.2. This also shows how Phosphorus, Calcium and Magnesium become very restricted around 8.5 pH. This is why staying in the 6.5-7pH range is so important for most vegetables/herbs.
Before I begin my lame week breakdown, a few good things:
Max just appeared in the garden with cutie flowers and a lemon donut. :)
We have baby chickadees! I already love them.
I got free leaf mulch thanks to Ross & Allie who let me borrow their truck every year for this.
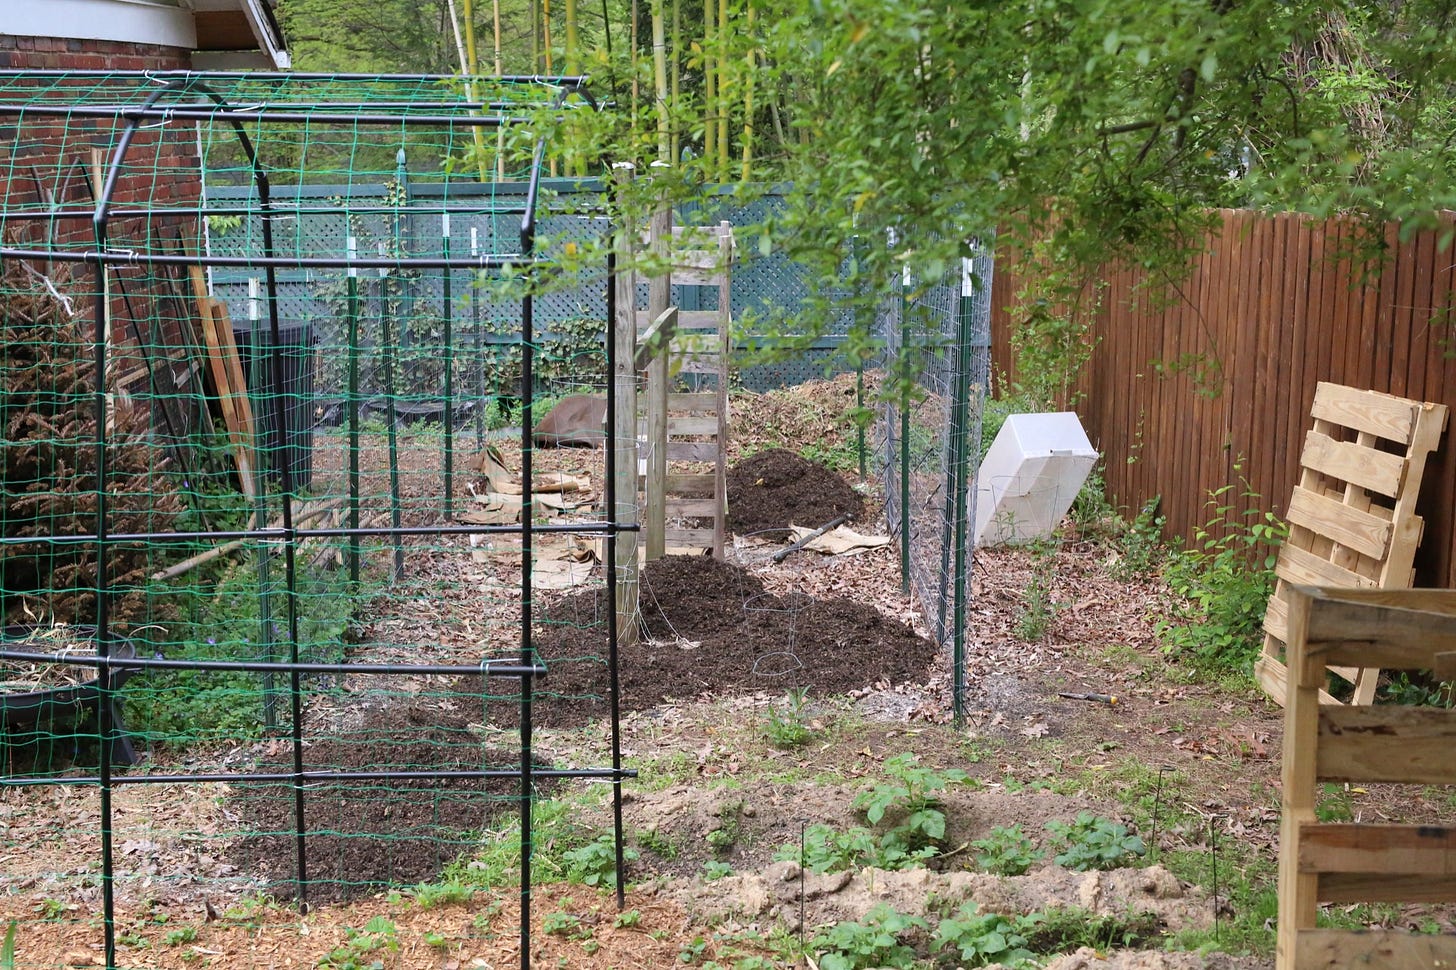
I also finally got 2 cattle panels to create arches for my alabama butter beans, cucamelons and cherry tomatoes.
Pretty garden photos at the end of this email. 📸
🪰 Fungus gnats, the bane of every indoor grower 🪰
This was entirely caused by me — and then exacerbated by me. Fungus gnats got into my vermicomposting bin and then jumped to my seed trays. Rather than immediately setting out fly traps to catch them, I ignored them for a few days. Procrastination and denial make you pay heavy prices in the seed-starting world.
Fungus gnats are annoying, but it’s their eggs which then hatch into larvae that do the real damage. These larvae eat the seedlings’ roots, and can kill or just pause any growth. I’ve had a few stray gnats pop up over the years, but I’ve smooshed them on the spot and they haven’t turned into a problem. This year, I think they made home in nearly every tray.
The solution is two fold: Kill adult gnats and kill larvae. Fly traps work GREAT for the gnats and you can get a dozen for $2-3. Hang them everywhere. I strongly recommend fly trap tape over putting vinegar/soap/any liquid trap mix in shallow bowls.
For the larvae, you can use Bacillus thuringinesis (BT) on top of the soil. It’s supposedly safe for humans but I would only put this on houseplants and out in the garden, not on edible seedlings. Non-academic communities vouch for 1 part peroxide / 4 parts water to kill larvae, but it’s unclear if this kills the fungus they feed on (which is scientifically proven) or if it is actually killing the larvae directly. While some claim that peroxide is a bit of a miracle product for plants, I didn’t do this because I was suspicious of my coconut coir holding water for too long.
My solution for larvae: I chose an aggressive step. I took the seedlings down to their bare roots and re-potted in better quality seed starting mix. This was possible because they were plants resilient to transplanting and lots of root disruption, like tomatoes and lettuces. The delicate ones (dill, chives, asters) I just said goodbye to. :(
💦 Aphids 💦
I caught my aphids really early which I should be proud of. I get either tweezers or a q-tip, dip it in water, and grab or wipe the aphids off and drop them into a paper towel. They stick to water droplets so it makes it easy. I highly recommend getting rid of aphids by hand. They’re large and easy to see; just look under the little leaves.
🤒 Borage seedlings: yellow leaves with green veins; stunted growth 🤒
THIS ONE IS YOUR SCIENCE CLASS OF THE MONTH. 🔬
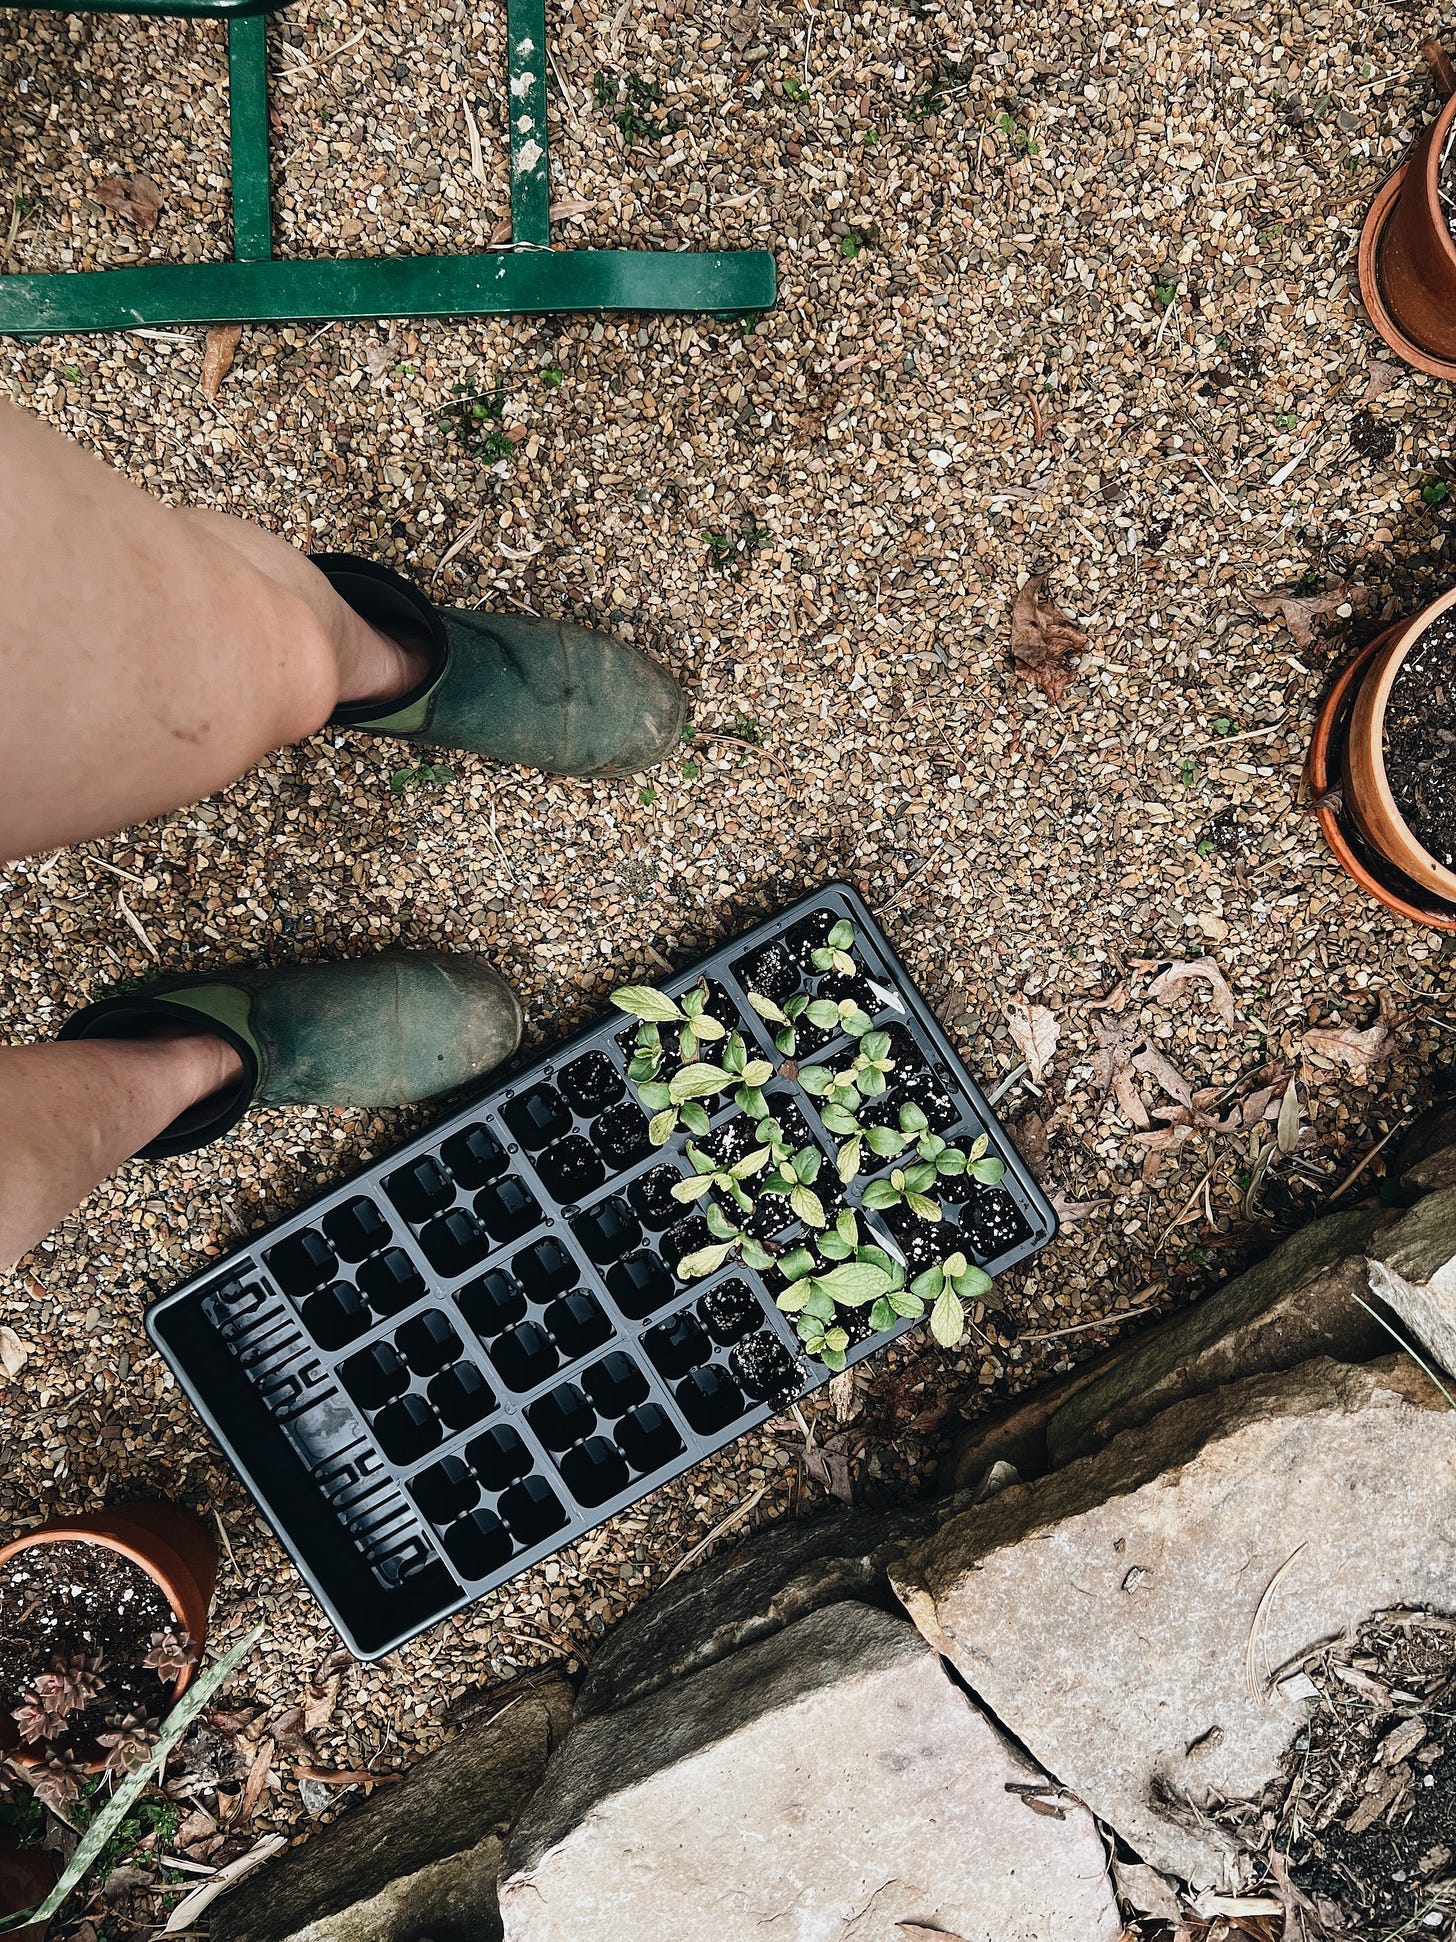
My borage seedlings were started indoors, on heat mats and under domes. I normally grow in coconut coir mixed with vermiculite + high quality compost, but I was at the bottom of the bin when planting these and I planted in primarily coconut coir. I took the domes off as soon as they germinated, but left them on heat mats. They started off strong and put out their first adult leaves quickly. Then, almost overnight, the leaves went yellow and the veins remained green. They haven’t grown or changed in a week.
The easy part is diagnosing the condition: Yellow leaves with green veins is called chlorosis. The plant is not producing chlorophyll in the leaves, which is responsible for photosynthesis and making leaves look green. When this happens to seedlings, it’s caused by an iron, magnesium, or calcium deficiency. To add iron, you can directly apply a chelated iron foliar spray. To add magnesium, you can apply an epsom salt spray. But regardless, this shouldn’t have happened, and I need to know what caused it, in order to not repeat it.
With any nutrient deficiency, it can be a real pain to deduce if the nutrient doesn’t exist OR if it does, but the plant just can’t absorb or metabolize it.
My deduction: Coconut coir doesn’t have many trace nutrients but my fertilizer has plenty, so I don’t think they’re absent in the soil. Coconut coir also has naturally high potassium, so if I were to add more, this might cause a problem.
Okay — I’ve decided nutrients are probably present, so what would keep the plant from absorbing them?
Three things inhibit iron absorption: Soil pH is too high, the soil was overwatered/waterlogged, or there is too much phosphorus from my fertilizing.
Three things inhibit magnesium absorption: High/low pH or too much potassium.
For calcium, this is usually caused by soil being too acidic (like 4.5 or 5.5 instead of 6 and up)
My deduction: My fertilizer is particularly high in phosphorus and potassium, so it is likely that I overdosed it as well as overwatered, since coconut coir is notorious for holding on too much moisture at the root level.
My solution: I actually chose a very aggressive first step. I gently pulled out the seedlings and rinsed away all dirt and re-potted their bare roots back into a high quality seed starting mix that had balanced nutrients, ph, and better drainage. I’ve kept the moisture level low for two days. I do feel confident this eliminated any excess nutrients in the soil or incorrect pH. Since they aren’t getting worse or better, I’m going to try adding epsom salt and if that doesn’t work, I’ll apply a chelated iron foliar spray.
☠️ Aminopyralid pesticide leach on fava beans ☠️
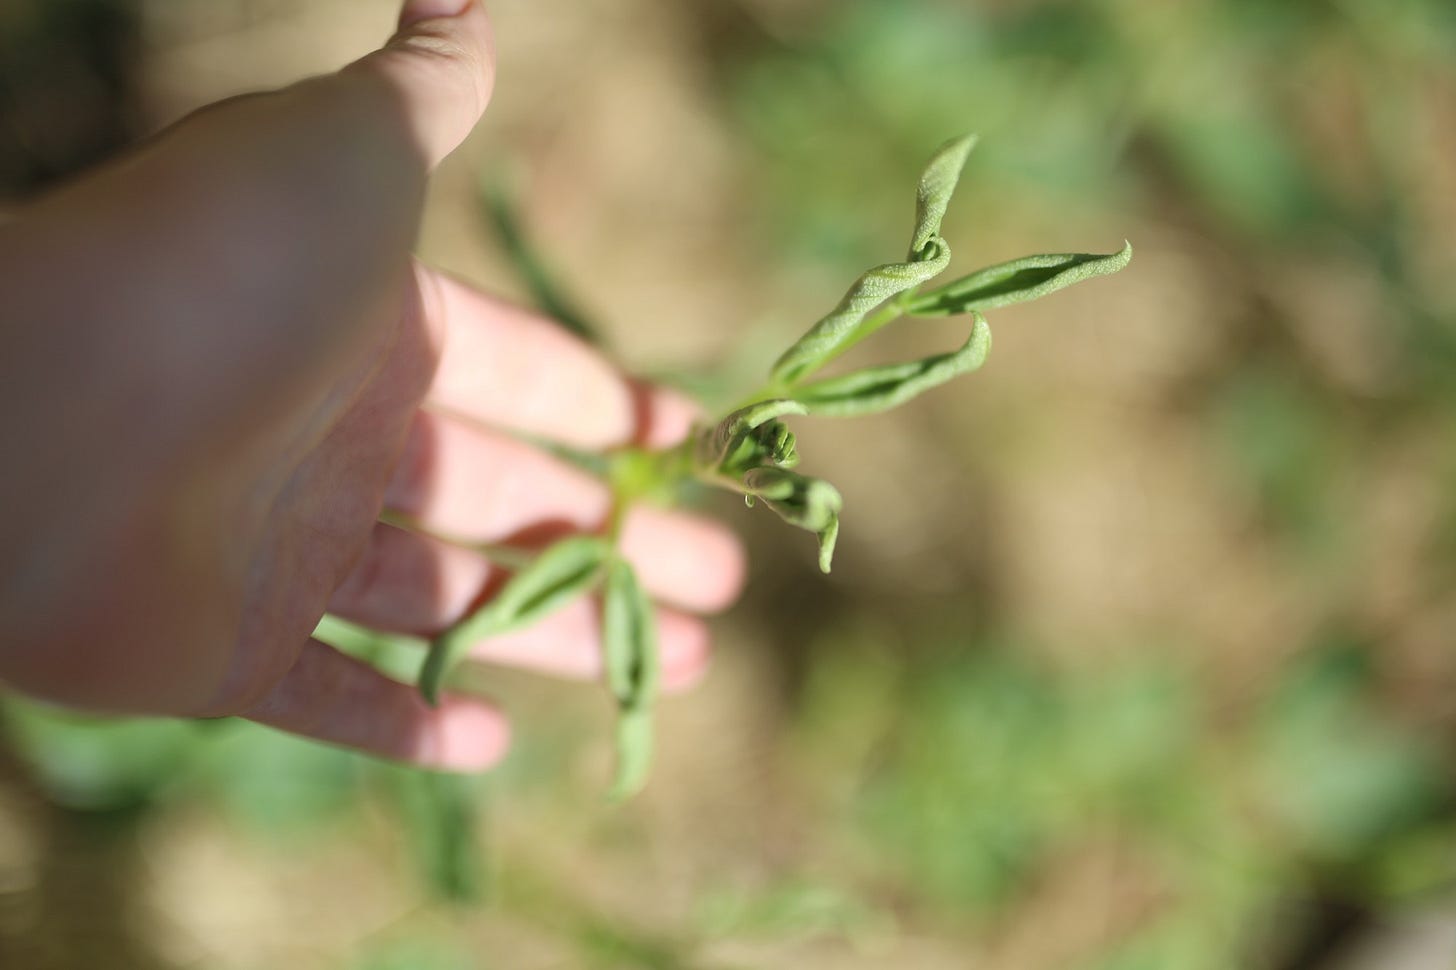
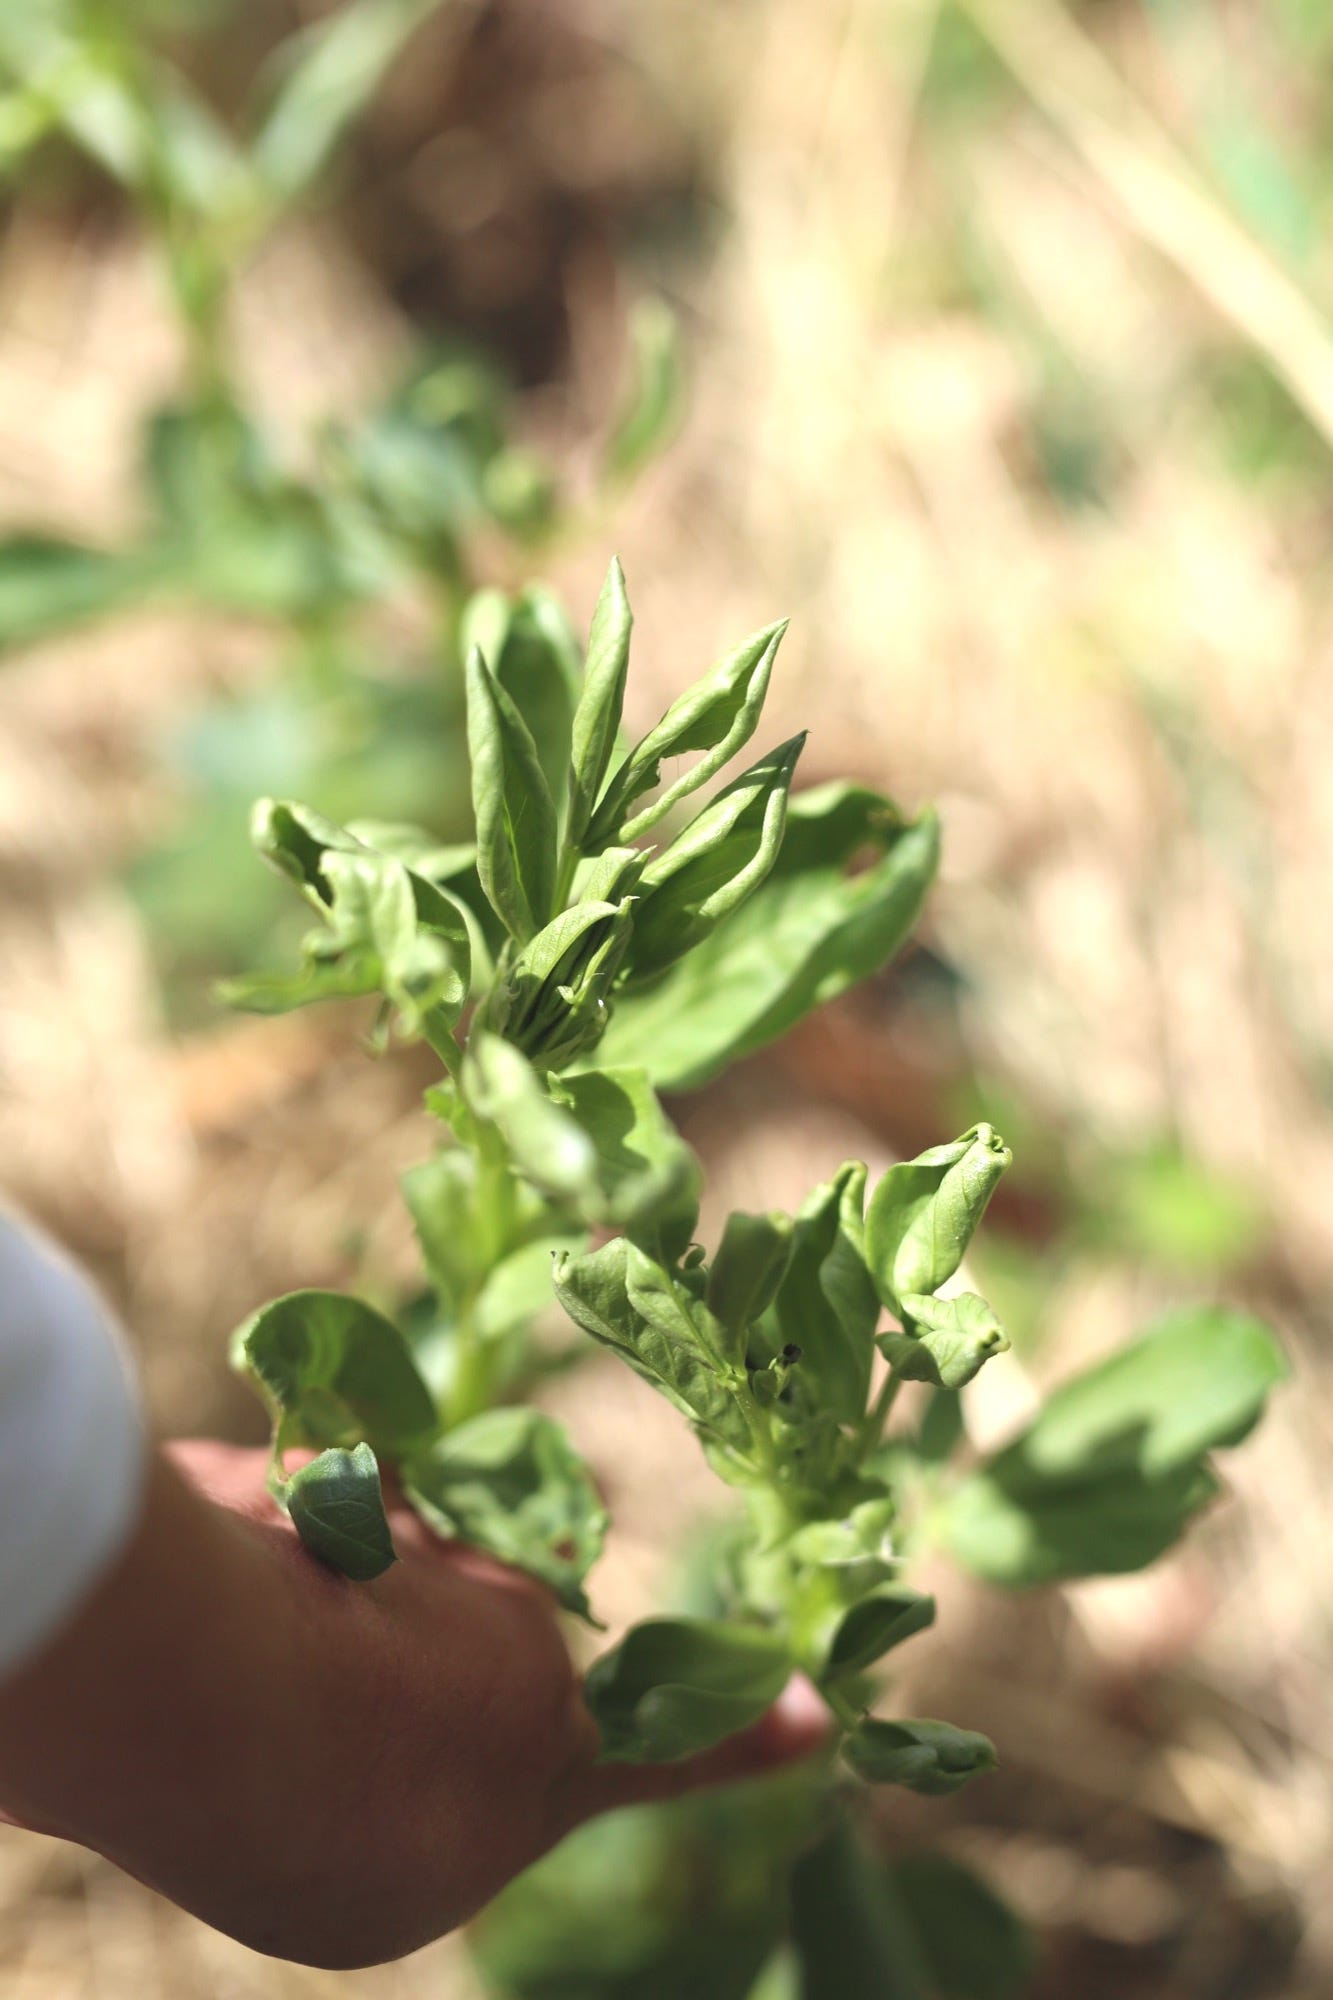
Honestly, this has been the most devastating. Against my better judgement, I got hay from a farmer acquaintance rather than seeking out organic hay/straw. All the new growth is twisting and curling in on itself. There *is* a chance could be caused by a wilt virus or phosphorus deficiency, but it just looks too similar to me to images of pesticide burn.
Aminopyralid is a pesticide that lots of hay is treated with (thank you Dow Chemicals) and growers are suddenly experiencing large scale issues with this pesticide rinsing off hay and manure, and killing any broadleaf plant in it’s area: beans, peas, tomatoes lettuce, spinach - for the most part.
Of course, the only bed I put hay in so far is the one with beans, peas. and spinach. :(
My options are…
to dig out the entire bed and replace with new soil
to only grow broadleaf-pesticide resistant plants in it (like brassicas)
fertilize and wait it out and see if the plants recover
I am going to start with fertilizing in case it really is a lack of nutrients. Cross your fingers!
These are the moments that frustrate me the most with the state of agriculture and unchecked pesticide use, because I have no guarantee that these pesticides are not creeping into ME, the person eating them. Anyways, everything in this bed is now on the No Sell, No Share list.
😩 Generalized coconut coir problems 😩
I have used coconut coir as a primary ingredient in my custom soil mixes for 3-4 years now, but I’ve started to have some real problems with it. It’s fine when my mix is 50/50 coco coir + high quality compost, but not as the sole or primary growing medium.
Apparently many other gardeners are experiencing this, and it has to do with the explosion of it in the marketplace, with lots of processing practice differences. Here’s a podcast episode about it.
Science note: If coco coir is un-buffered, it can be too high in sodium (Na) and potassium (K) and too low in Calcium (Ca) and Magnesium (Mg). Too much potassium (K) will result in too little (Mg) being available for your crops. Too much (Na) is just a bad situation all the way around, especially to young and bare root plants.
source: botanicare
I am stubbornly using it as my seed starting mix base rather than peat, because peat is a finite resource and harvesting all our bogs (which we are doing) is not great for the planet. However, there are a few things I’ve learned:
When you buy it, make sure it says buffered on the package. This means the pH, salt content, and naturally occurring nutrients are adjusted so that it can support horticultural use.
Mix it with a jumpstart/seedling fertilizer like this to add nutrients.
Soak it to help leach out any remaining salts.
De-brick it by adding water.
Let it soak in a 2:1 water/coconut coir ratio for about half an hour. Drain, and then re-fluff. This should eliminate the extra salt content.
Mix in the dry fertilizer and any other vermiculite, perlite or compost that you are using.
As you can see, I’m developing much more forgiveness for the use of peat when starting seeds. Seed starting is low-volume consumption for home growers and peat is honestly a time saver, so, maybe I’ll go back. We’ll see.
✏️ To sum up, here are my lessons learned for the week: ✏️
Take seedlings off heat mats within a few days of germination. Anything longer will promote disease or overgrowth, or other issues.
Kill the damn fungus gnats the first day you see them and don’t put it off, Lauren.
Be more careful when measuring liquid fertilizer because too much phosphorus can really affect a seedling. More is not more.
Err on the side of not enough fertilizer when growing indoors under lights, because plants metabolize less indoors than when in direct sunlight.
Don’t use pure coconut coir for seedlings; too risky. Mix 50/50 with high quality compost, maybe add a little seed-starting fertilizer, or just buy a pro mix.
If something is struggling really hard, just pitch it and start over. Don’t be too attached and force a salvation that isn’t wanted.
Say goodbye to the use of straw or hay for your mulch, because #pesticides. :( Go for black-and-white newspaper pages, leaf mulch, or wood chip mulch.
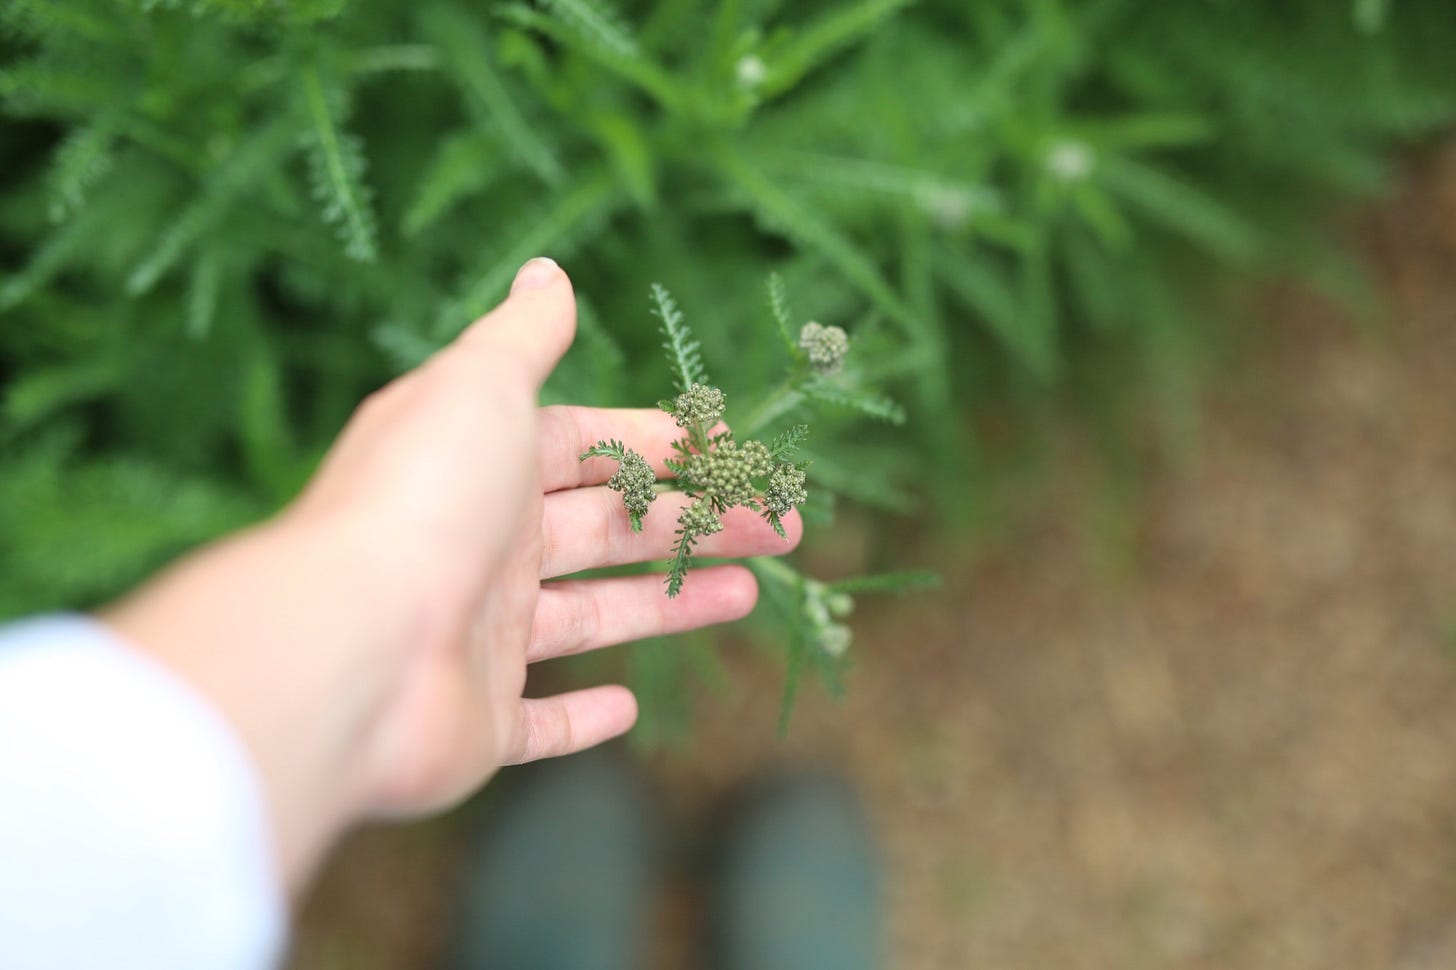
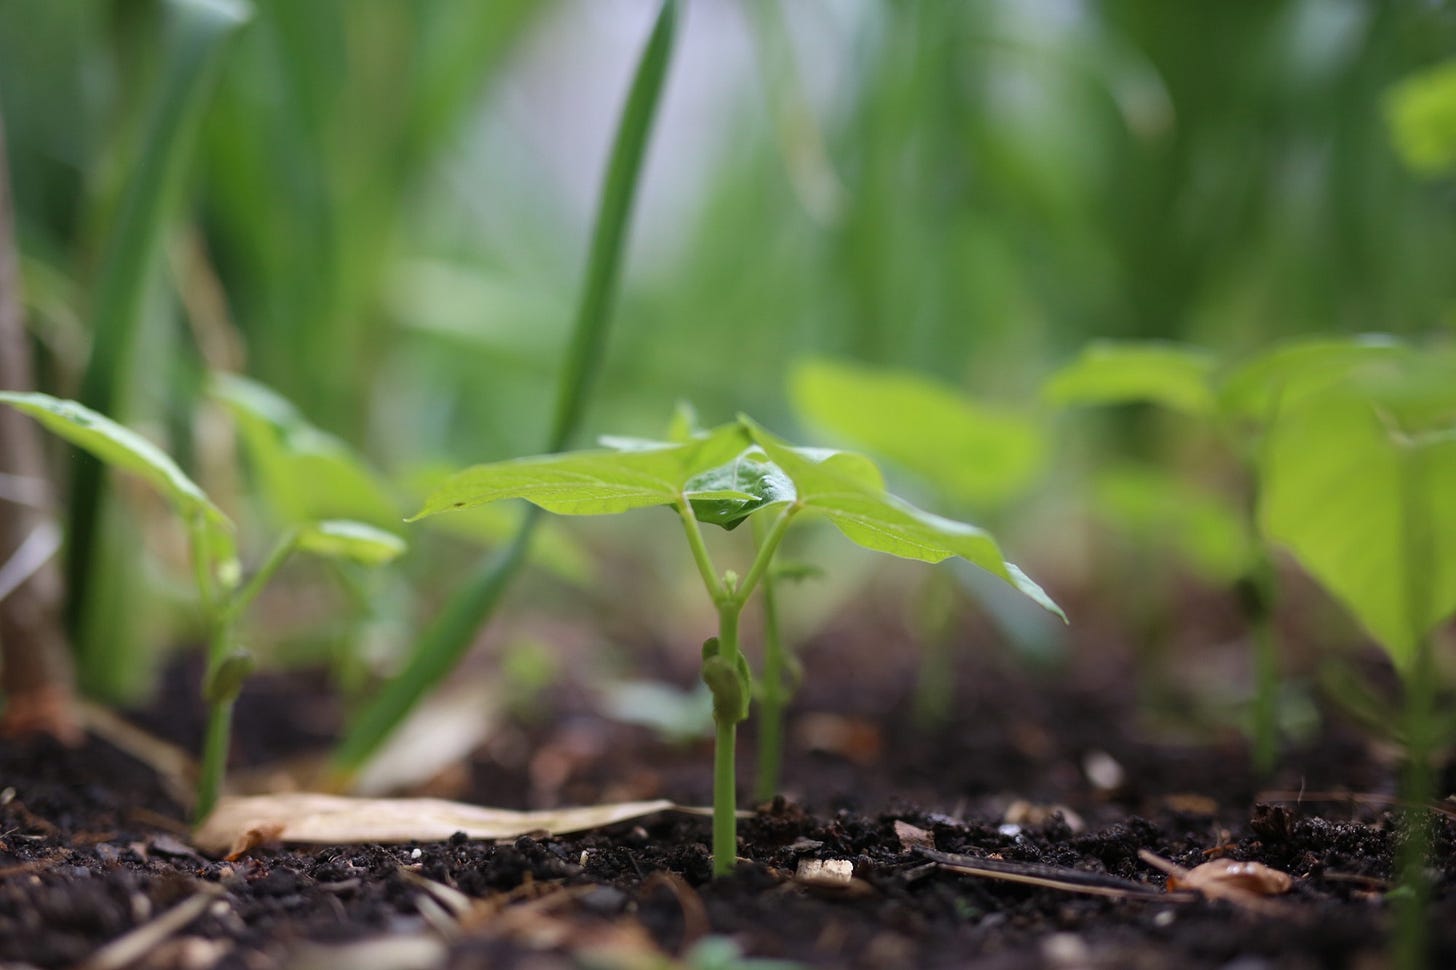
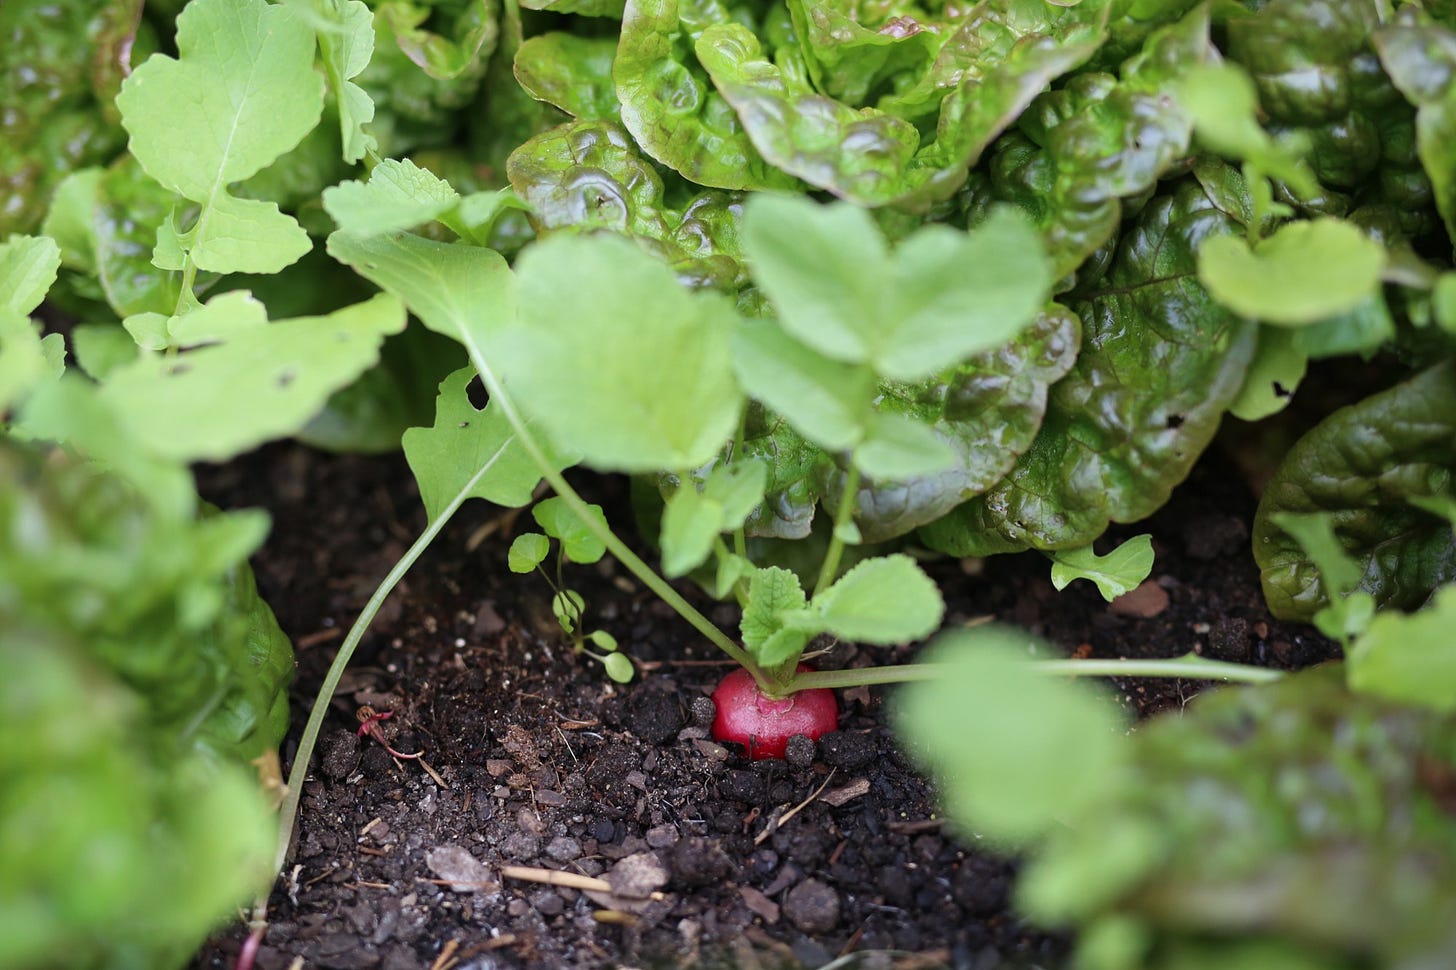
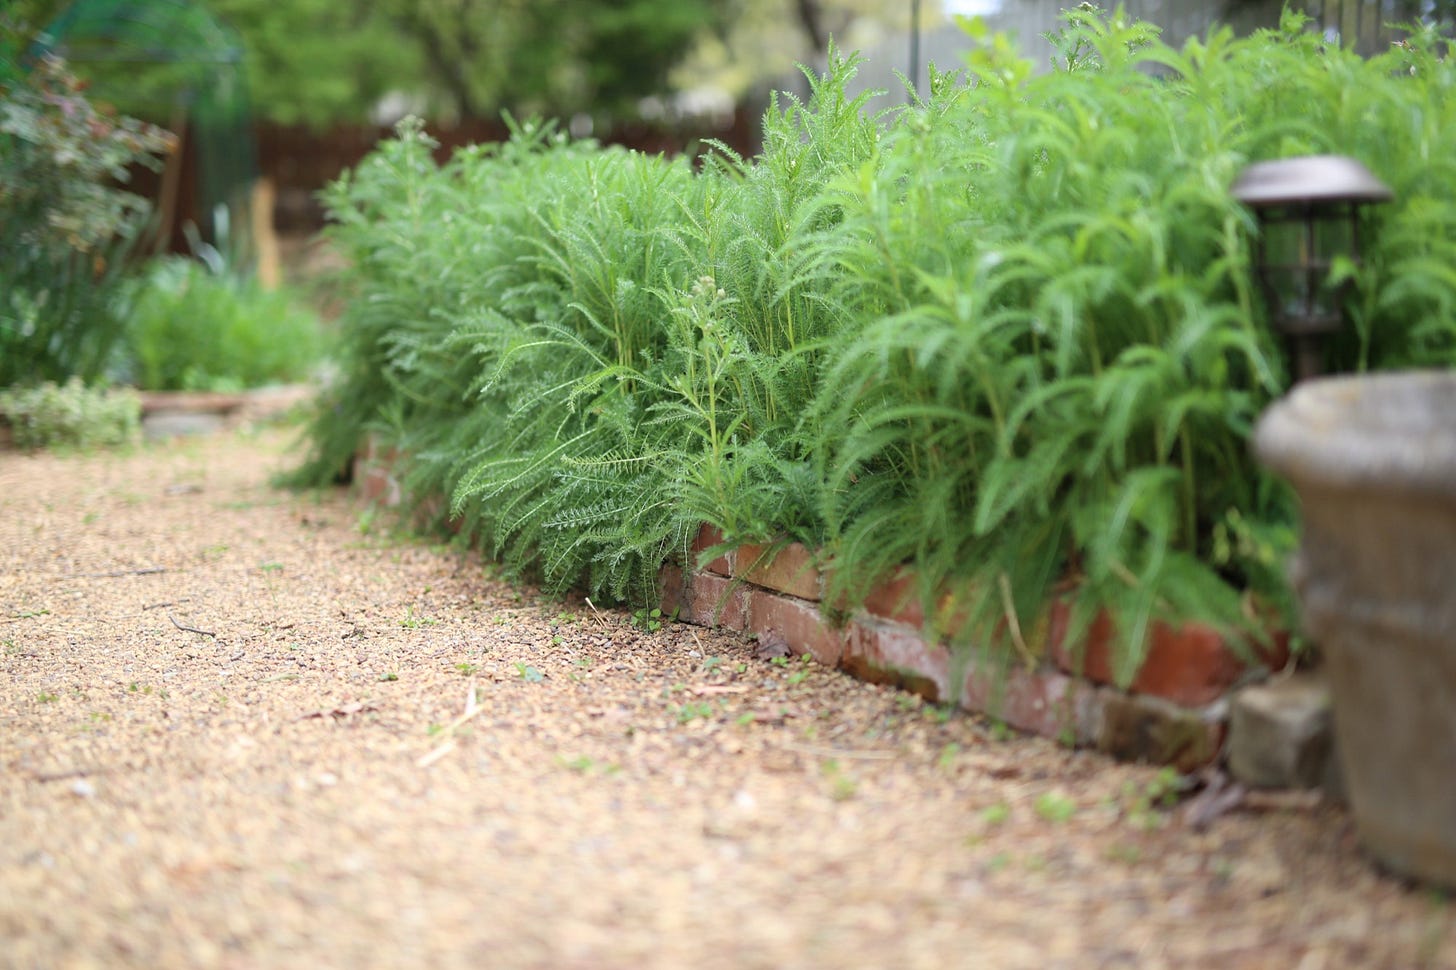
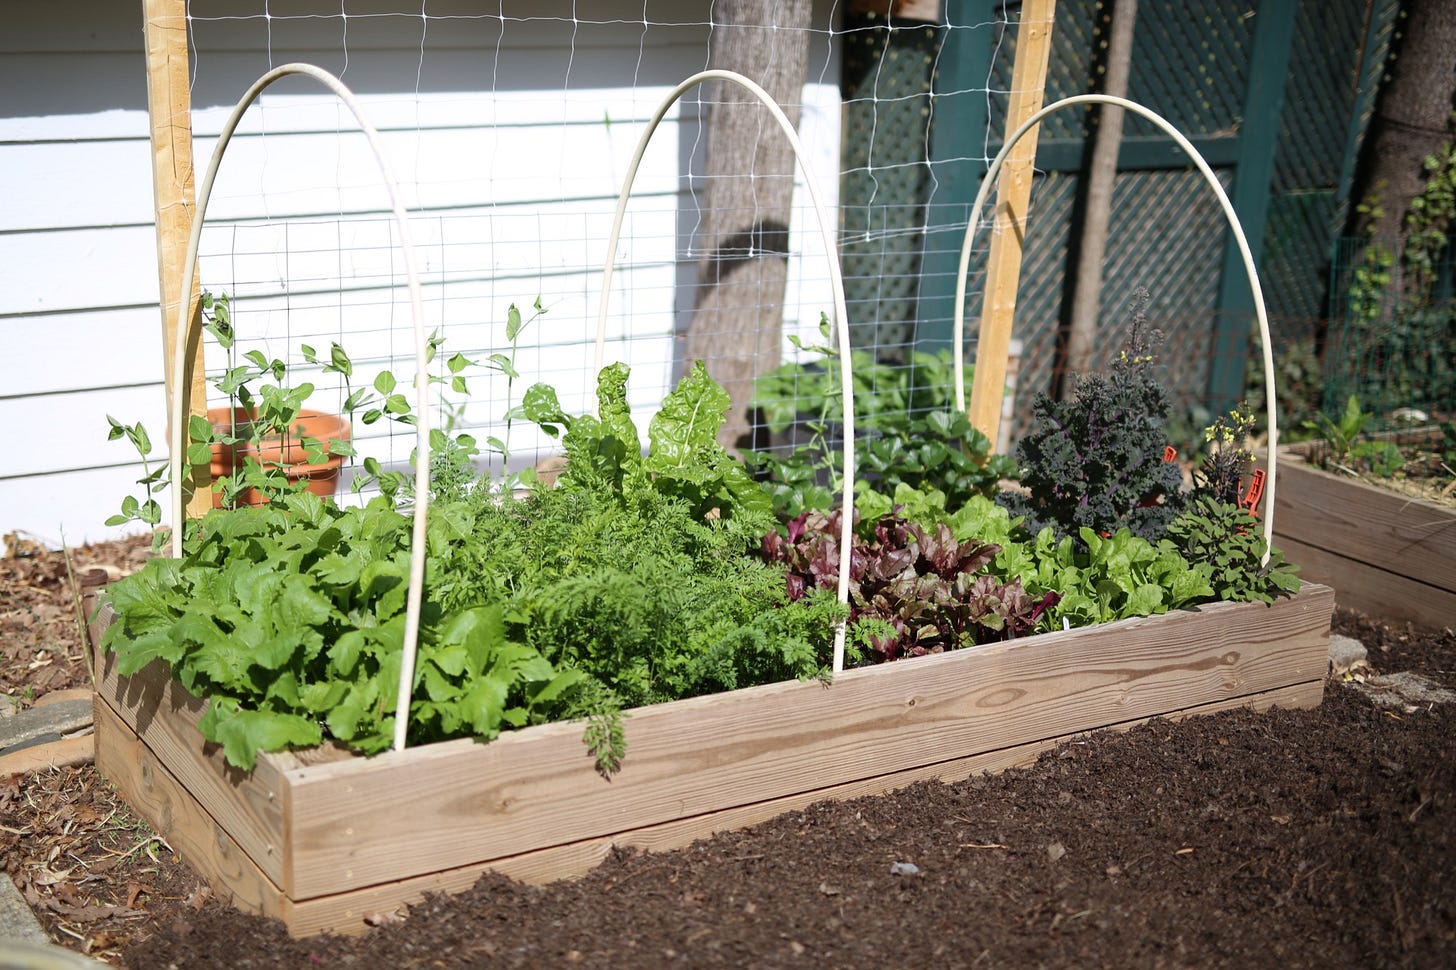
Despite all the bummers, there are some really lovely things happening in the garden so here is a little peek.
Alright friends, cheerio and happy holiday weekend. 🐰
Please leave a comment on this post if you have any valuable learnings from similar challenges, have any questions, or just to tell me that you enjoyed hearing about this week’s very sad #fails!
Lauren xo
PS. Our virtual hangouts on Thursdays are so much fun! Come join us sometime.

